Showing posts with label print. Show all posts

Thursday, 7 June 2012

Marbling

Yes, I'm still alive.

The Sproggit and I had a go at marbling, I have to say that even though I only have a short post about it we really were quite obsessed about it and produced at least a hundred pieces of beautiful paper over a week or so trying different techniques. The example below was our first attempt. We watched plenty of tutorials on You Tube this one is our favourite, its quite long but the end result is pretty amazing.

Anyway, here is our first one, I had a kit which I bought years ago, I dont think it cost much, maybe ten pound. It came with water thickener and a few inks in a nice box. The only downside to paper marbling is that to get the best water you need to mix the solution the night before.

We didnt flick the ink into the water at first, we just let it drip in. We added more and more ink until the surface was pretty much covered.

 As you can see, the colours we got in our kit were full on but we later experimented with kids poster paint mixed with a bit of water to make it drippy. That worked well especially with the flicky method.
 Nextly we got a cocktail stick and had fun dragging the ink around. flower shapes are easily made by pulling the ink into the centre. This effect works best when you keep putting the ink inside the previous drip to form rings.
Here is our finished piece. Yes. this really is our first try. Now you can see why we ditched the camera and just got stuck in. Much fun was had.

Wednesday, 2 May 2012

Photo a day

Day twenty seven.......................


SOMEWHERE I 'WENT'


Day twenty eight.............

1 PM

Day twenty nine............

CIRCLE

day thirty.............


SOMETHING THAT MAKES ME SAD

(Missing my Grandads left and centre)

Monday, 16 April 2012

Fabric printing

I have been working on different fabric printing techniques, I had a go at screen printing using home made screens, but I didn't like the way the ink had to be really solid just to get a print. Then I remembered when I worked at a T-shirt printing place a very long time ago, I was told that there is no variation in screen printing. You have good prints and bad prints. This is very true so I realised that I would probably never be happy with screen printing, I needed some thing that let you be more creative with the ink amount.

Stencils were the way forward. and any way, screens are just stencils...............on screens right?? 

So I have nearly finished my first yard. I have to say, I SERIOUSLY LOVE IT! I have been designing and cutting my own stencils, lots of angular stuff, but also some circular masks. Here is a little peek.


I love the way you can use the ink how you want, creating light and dark areas. My stencils are all temporary and will only be used for this piece so it will be absolutely one of a kind. I will post the finished fabric as soon as its finished.

Monday, 9 April 2012

Wax crayon print.

Today we tried wax crayon printing, the munckin drew a design on some fairly fine sandpaper, I went over any bits that were not very bright.

We put some card inside an old white school T-shirt, placed the picture face down and put a scrap piece of fabric on top, we set the iron to cotton and moved it slowly over our picture. after a couple of sneek peeks to check it had transfered enough we removed the sandpaper, put the fabric back on and ironed for a bit longer. aparently this heat sets it but its then reccomended that it goes in the tumble dryer for twenty minutes. but I dont have one.


I am rubbish at photography so the print looks a bit pale but it actually came out much brighter than above. These T-shirts are two for three pound in supermarkets and the crayons and sandpaper we already had at home, so this was a great inexpensive craft and she cant wait to wear her creation tomorrow!

Saturday, 7 April 2012

Ink, stamp, fabric.

I have been doing another custom order today, so the rag rug has taken a back seat, I had a request for some Indian block printing. <------- video here! I don't have the speed of this guy, and a 36 x 60 inches piece of linen took me a looooooong time. I will definitely look into making some kind of ink pad like he uses for next time I do a large piece, I think it will help me get into more of a rhythm, right now I apply the ink with a small sponge. I took a quick pic while I gave my back a break, please excuse the poor light, had to wait until the monster had gone to bed.


I have bought a few new colours and plan on going to bed with this book. for inspiration on how I will use them. Its a beautiful book that I really recommend. Its written by the lovely MissPrint ladies and covers a broad range of techniques.

Thursday, 17 November 2011

An old friend....

I used to do a lot of stamping a few years ago, then became tired of paper crafts, so my rubber stamps got put away. These past couple of months I have been playing around with printing and so I ventured into the loft to retrieve my stamps, most are no longer my style but i did have fun with a butterfly one, using blank parcel tags and handmade paper, I made some simple and pretty things for my shop.Here is a link to the paper craft:- http://www.etsy.com/shop/ChilliPeppa?section_id=10543040 
I will be doing more of this kind of crafting as I got to spend some time with my little girl, we had lots of fun apart from an exploding bottle of glitter glue but we wont go into that.

Friday, 23 September 2011

All wrapped up.

My Dad turned sixty recently and we have made him a gift (can't say what yet but I will do a post about it once he has received it!) and I decided to make him some hand stamped wrapping paper, I have a giant roll of brown parcel type paper which was begging to be jazzed up a bit.

I based my design on some vintage oven ware I found in a charity shop, I cut it from my new best friend lino and set about making an offset repeated pattern. Once finished I hung it up at my curtainless window and let it dry before the cat jumped on it. I cant wait to pick up my Dads gift and get it all wrapped up.


Friday, 2 September 2011

Yep, I'm hooked.

After my first attempts at lino printing I'm totally hooked. I really want to be making one off pieces of fabric that I will eventually (when I'm brave enough) be listed in my Etsy shop.
I designed a flower that I thought could be used on greeting cards but also worked as a repeat pattern on fabric. I really enjoyed making this pattern using different shades of Yellow/Red/Orange. I'm quite proud of the results and Im already scouring the net for some nice linen (geez its pricey!)
and some paint suitable for lino printing on fabric. Here's how it turned out on paper, very cute.


Wednesday, 17 August 2011

Lino printing

I have been thinking about making my own blocks to print on fabric for a while, but recently I have been swaying towards producing limited runs of prints on paper, and who knows, if I get the hang of it I might try fabric at a later date.
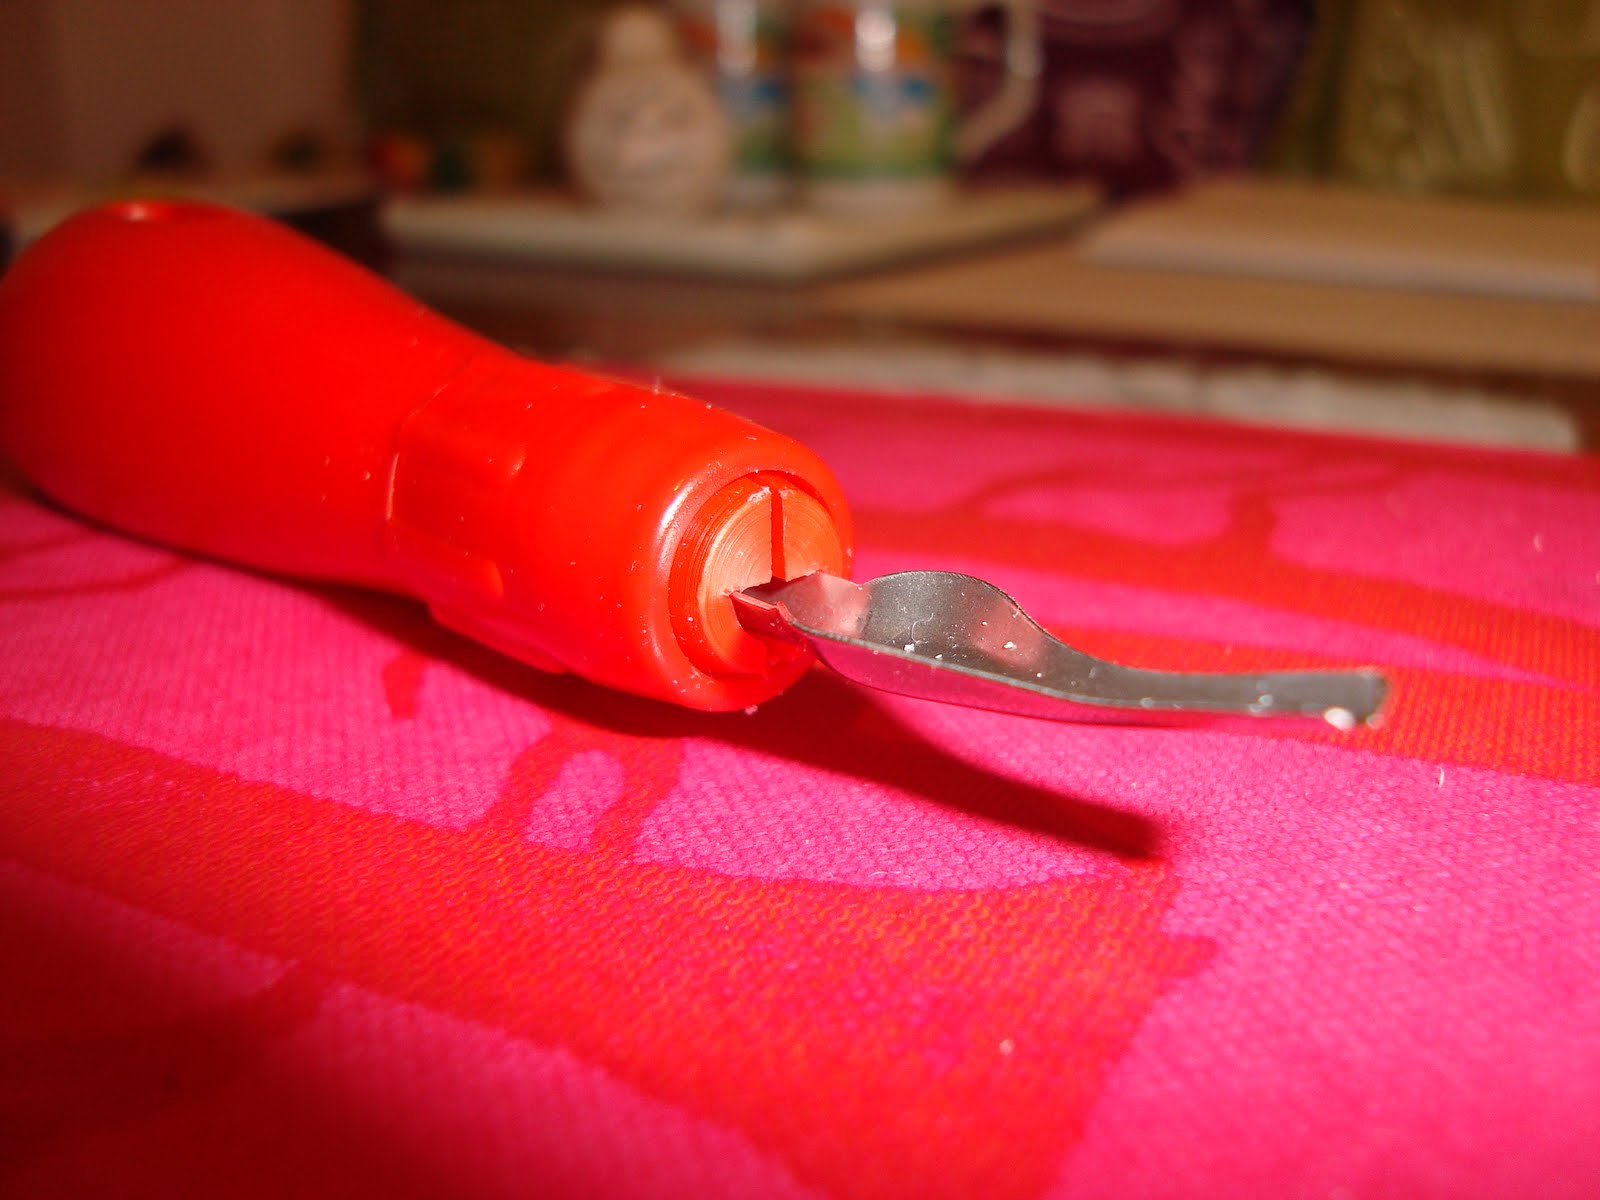
Lino printing is pretty inexpensive to start up, I bought the blocks from our local hobby superstore, they are regular photo size and were just £1.75 each, the cutting tool was a bit over priced so i have bought that on the net for around a fiver and the roller for applying the ink was under three pound, ten pound cheaper than at the hobby superstore! ink is around four pound and to start with one colour will be fine, you wont be doing any thing too complicated at this stage.
There are two types of cutting you can do, you can carve out the outline of your design and leave most of the lino intact creating a NEGATIVE when printed or you can leave the outline and carve out everything else making a POSITIVE print. negative prints are quicker to carve and better for your first project, I found this pretty easy and quick enough for me not to loose interest. I did a test in my ideas note book with ordinary acrylic, just to get an idea how it turned out, the acrylic dried much quicker than printing ink so the finish isn't great but I couldnt wait for my ink to arrive.


MY NEGATIVE LINO


THE PRINT


For my second project I tried making a positve, This is a lot more difficult as there is much more work to do.
To get a neat line I used the thin scalpel type blade to go round the outline, I dont know if this is the done thing but it worked really well as it meant I just carved out near the outline and it kind of fell away up to the line.
I really really really recommend heating your lino in the oven for a couple of minutes. it makes the world of difference, you will have to do this every 10 mins maybe, dont struggle on after its hardened again, if you stab yourself in the end of your finger because you cant be bothered to get up it hurts quite a bit and the resulting blood can be pretty messy.

Here is the design and the first part of my positve design, I am making a seperate small stamp for the bird and heart, if I struggle to get it all lined up right I might make it a mixed media print.


Keep your first aid kit handy.