I have been thinking about making my own blocks to print on fabric for a while, but recently I have been swaying towards producing limited runs of prints on paper, and who knows, if I get the hang of it I might try fabric at a later date.
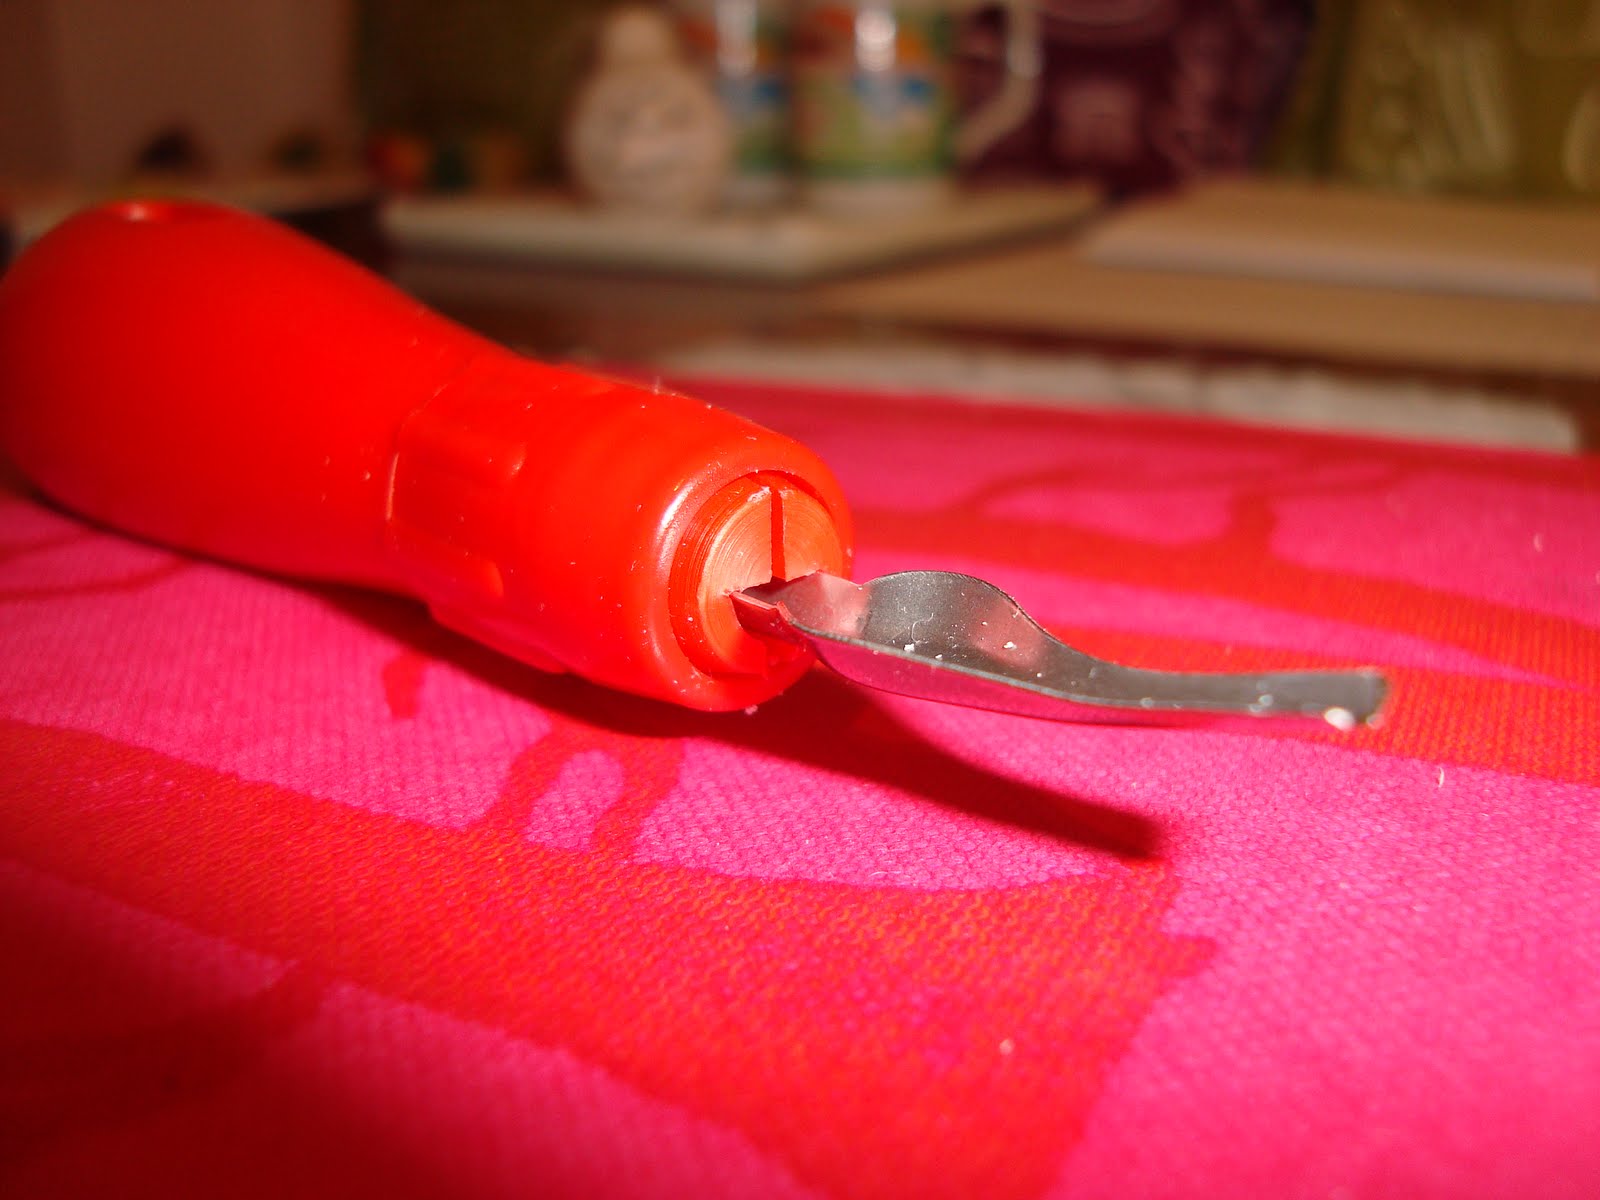
Lino printing is pretty inexpensive to start up, I bought the blocks from our local hobby superstore, they are regular photo size and were just £1.75 each, the cutting tool was a bit over priced so i have bought that on the net for around a fiver and the roller for applying the ink was under three pound, ten pound cheaper than at the hobby superstore! ink is around four pound and to start with one colour will be fine, you wont be doing any thing too complicated at this stage.
There are two types of cutting you can do, you can carve out the outline of your design and leave most of the lino intact creating a NEGATIVE when printed or you can leave the outline and carve out everything else making a POSITIVE print. negative prints are quicker to carve and better for your first project, I found this pretty easy and quick enough for me not to loose interest. I did a test in my ideas note book with ordinary acrylic, just to get an idea how it turned out, the acrylic dried much quicker than printing ink so the finish isn't great but I couldnt wait for my ink to arrive.
 MY NEGATIVE LINO
THE PRINT
For my second project I tried making a positve, This is a lot more difficult as there is much more work to do.
To get a neat line I used the thin scalpel type blade to go round the outline, I dont know if this is the done thing but it worked really well as it meant I just carved out near the outline and it kind of fell away up to the line.
I really really really recommend heating your lino in the oven for a couple of minutes. it makes the world of difference, you will have to do this every 10 mins maybe, dont struggle on after its hardened again, if you stab yourself in the end of your finger because you cant be bothered to get up it hurts quite a bit and the resulting blood can be pretty messy.
MY NEGATIVE LINO
THE PRINT
For my second project I tried making a positve, This is a lot more difficult as there is much more work to do.
To get a neat line I used the thin scalpel type blade to go round the outline, I dont know if this is the done thing but it worked really well as it meant I just carved out near the outline and it kind of fell away up to the line.
I really really really recommend heating your lino in the oven for a couple of minutes. it makes the world of difference, you will have to do this every 10 mins maybe, dont struggle on after its hardened again, if you stab yourself in the end of your finger because you cant be bothered to get up it hurts quite a bit and the resulting blood can be pretty messy.
Here is the design and the first part of my positve design, I am making a seperate small stamp for the bird and heart, if I struggle to get it all lined up right I might make it a mixed media print.
Keep your first aid kit handy.